How to make the DIY built in bookshelves that completely transformed our space.

This room has been the slowest to come together and as a result is now probably my favorite space in our whole house. A huge part of why I love it so much though, has to the bookcase / built-in. The warmth that has been added, between the hardwood floors and the bookcase, is night and day from where it started.
Aside from looking cute though, there was a lot of functionality that was needed for this piece too. For example, we needed plenty of room for records, books, and small decorative items (baskets too for organizing). And then also, we wanted some closed storage for the things that we didn’t want on display.
Click through for the full budget breakdown of how much this project really cost us, how to make your own, and some mistakes we made along the way…

How to make a built in bookshelf
First, I wanted to mention that this tutorial is a little more vague than my typical DIYs and that’s because there are a lot of moving parts to this project. And so many different ways of working with wood. This project isn’t as cut and dry, directions wise. And also varies depending on how big or small your bookcase / built-in is. So I’ll share as many details as I can think of here and if I left anything out or you have any more specific questions, leave a comment and I’ll be sure to answer. That said, here we go…
Jeff took the lead on this project and I was an extra set of hands where I could be with staining, assembly, etc. It’s made of white oak ply (sheets of plywood with a white oak veneer on top and bottom). It was way more cost effective to go this route than solid white oak. I have a budget breakdown at the end of this post if you’re curious about cost.

Taking measurements
Figure out the basic measurements for the build. Depth, length, and height.
And then you can draw out your design on paper OR use something like Shapr3D to model it. Jeff used Shapr3D. I haven’t learned how to use it yet, so I left that to him. He’s good at that stuff. After that, we used a site called Cut List optimizer to plan out the cuts we needed. This helped a lot to figure out how many sheets of plywood to order.
*One thing that we didn’t think about, that you should when you’re in this phase, is the grain direction. If you want the grain going all the same way, you’ll need to be more careful with the way these cuts are laid out.
Making your cuts
Make all of your cuts with a circular saw and straight edge (or you can use a track saw or table saw). We actually used a combination of all three of these for various reasons. But if you don’t have all of these tools, just one can get the job done. Also, renting tools is a great option, if needed. I’ll talk about that at the end.
Edge Banding
Next up is edge banding. We used an iron-on edge banding, which honestly, I didn’t love.
BUT I think one way we could have made it better was to be strategic about where we took the edge banding cuts from. There were some areas that were more consistent grain wise than others. And I didn’t realize it until we were too far in to turn back. SO! I would recommend really paying attention to those details before cutting the edge banding.
For iron on edge banding, you just cut the edge banding down, attach it with the hat of an iron, press it down with a hard flat surface, and trim off the excess with a special trimming tool.
*You can save some of the edge banding for after the assembly stage if there are edges that some together to form a miter cut at the corners.
Assembly
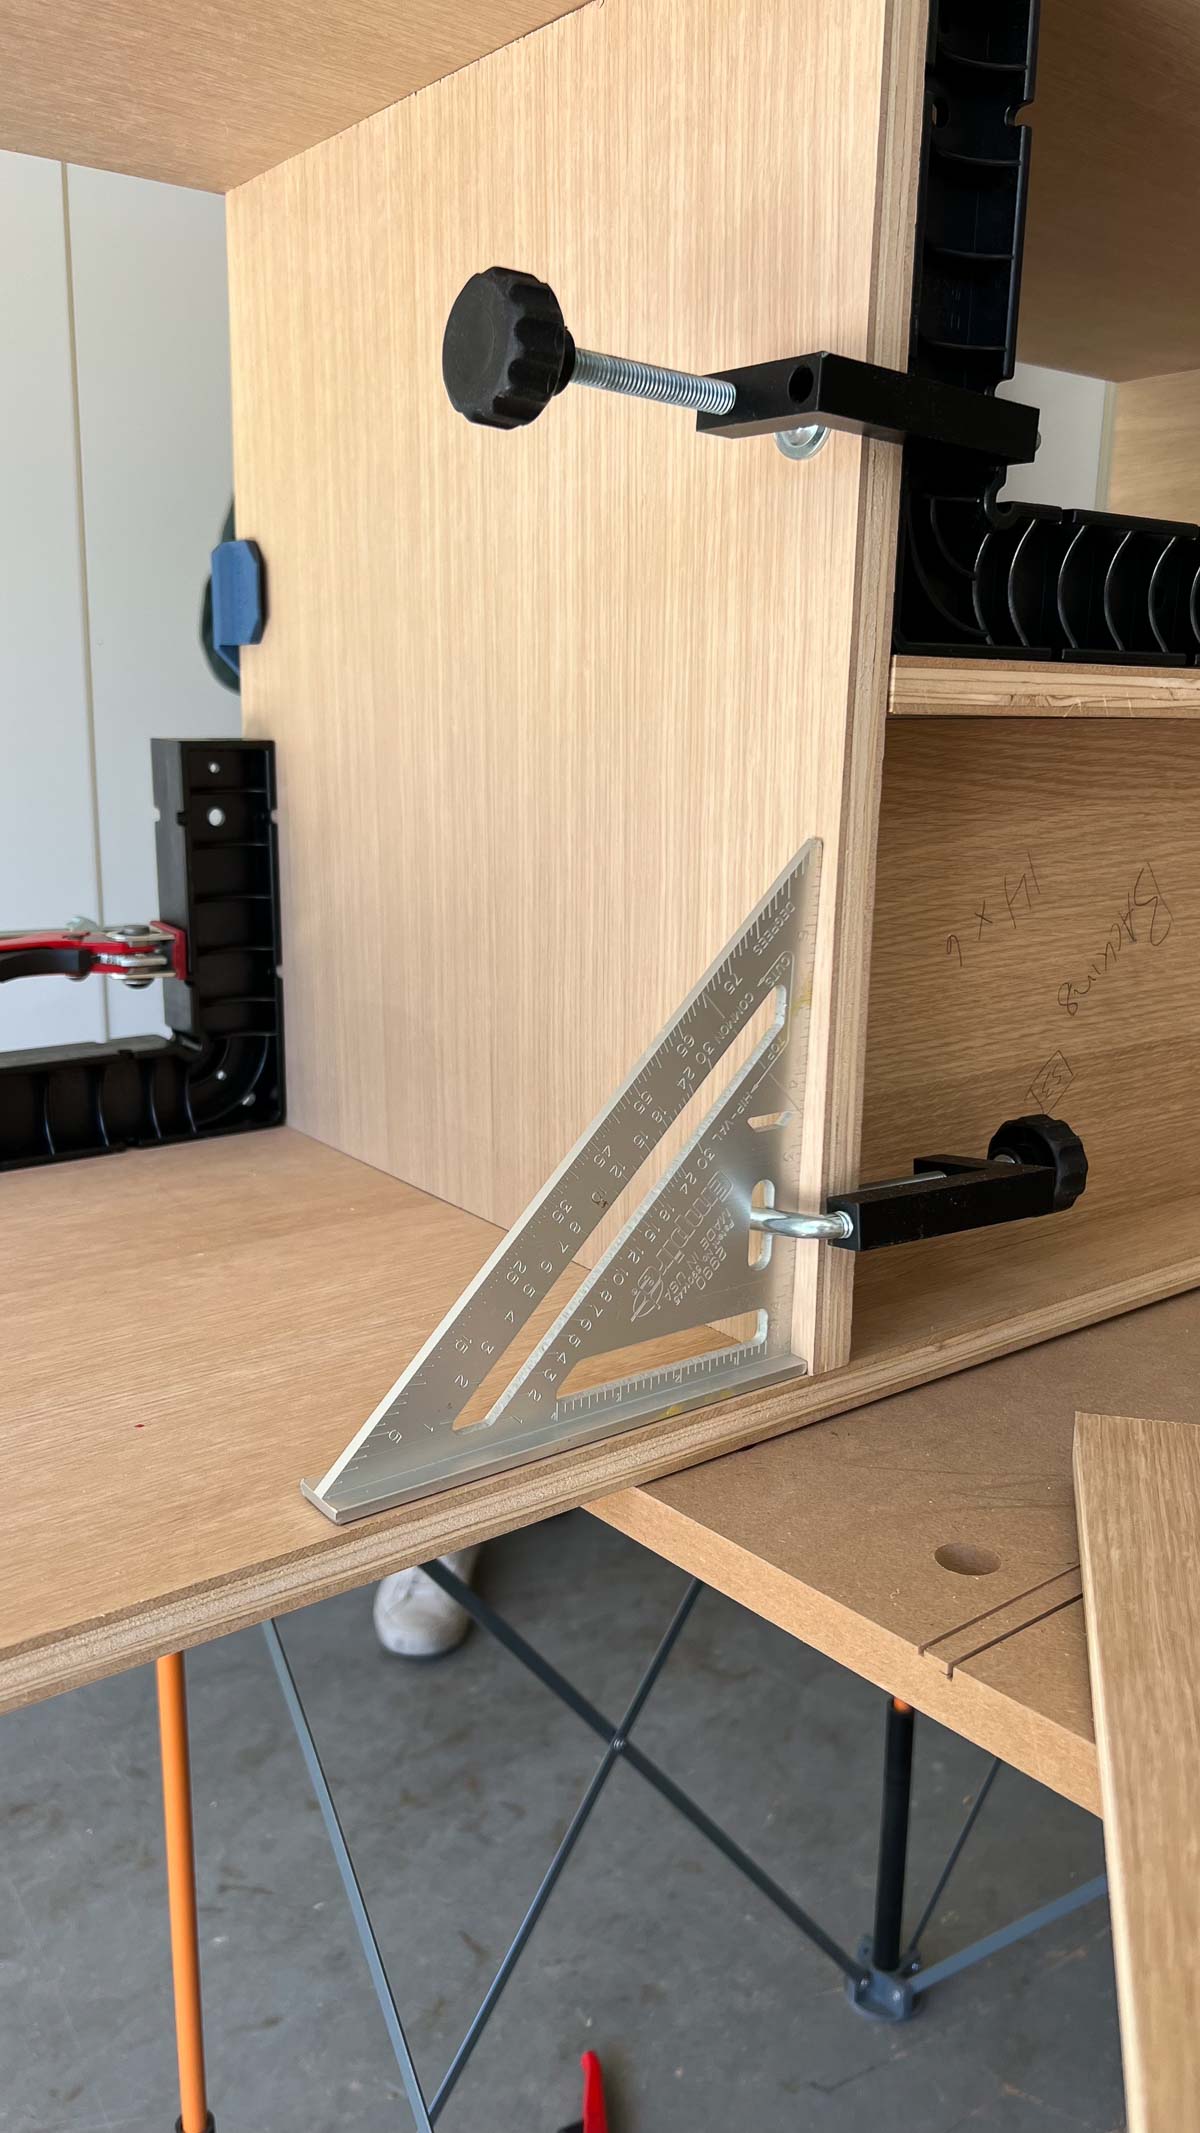
Now, it’s ready to start assembling. I would recommend having a second person around to help with this, if you’re building something on the larger side.
The basics for assembly are as follows… We used pocket holes for any shelves that had backs on them and then just screwed up from the bottom anywhere pocket holes wouldn’t work. Using a Kreg jig for the pocket holes makes things a lot easier.
There are a lot of triangle / carpenter squares and levels involved in this process. And plenty of tweaking. Reference your drawing or Shapr3D model often through the assembly process.

Adding feet + toe kick
We added adjustable feet to the bottom of the bookshelf and the cabinet area. And then when it was all installed, we just covered it with a long white oak toe kick, which made out of the scrap pieces of white oak ply.
*This was also the stage where we brought everything into the room to make sure it would fit properly in the space. Then we took it back out to sand and stain…

Sanding + staining everything
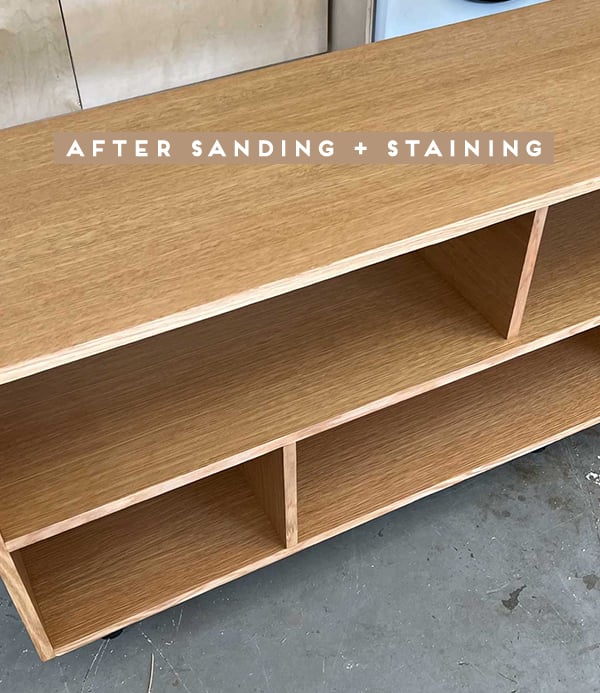
Last thing to note before everything was installed in the room, we sanded everything (120 grit) and then added a stain that made the white oak much warmer. *You may want to stain your pieces earlier in the process (before final assembly, if you can do a quick dry fit first). I’ll explain more in the ‘mistakes we made section’.
- Rubio Monocoat is what we used (the color we used is Pure) and also used the accelerator (they come together as a set and I have the one we used linked) to cut down on drying time.
Installing the bookshelves
The open shelving was built at the same time but separately (not connected) from the cabinet with the doors. Same materials, same everything, just not connected until they were in the room. This made it easier to install, since it was so big. And then the two pieces were attached to each other at install, in the room.
Once everything ins in the room and in place (don’t forget to make any adjustments to the adjustable feet before adding the wood toe kick), attach the two pieces to each other. And then, if desired, also attach it to the wall, for extra security.
As a last finishing touch, add the toe kick. And that’s pretty much it. Lmk if you have any questions.

What mistakes did you make along the way?
There were a handful…or maybe more than a handful. Lol.
- But one of the biggest mistakes I made was not being able to visualize how the height of the taller section would look in combination with the window. The original design had a taller cabinet and Jeff made all the cuts based on that design. Once we got it in to the space and were ready to connect the two pieces though, I realized my mistake. The cabinet looked too high and was throwing everything off imo. SO! We started over on the cabinet. And that cost us. Worth it in the end though.
- Really pay attention to the direction of grain when you’re planning out your wood cuts. This was something we missed in a few instances and it’s not the end of the world, but it would have been even better if the grain direction matched on every single piece for the open bookshelf area.
- For this particular project, I would recommend staining all the wood before assembly, if you can. We didn’t do this and kind of regretted it. It was NOT fun to try and stain this piece once it was all built. And even considered taking it a part again for staining once we got started, but we just went with it in the end. It’s doable to stain when the piece is already built, but it’s far more annoying. I promise.
- If you’re feeling unsure about a particular wood cut, and you have excess wood, it’s best to cut them a little oversized. So that you can still cut them down if necessary. Otherwise, you’ll have to scrap the piece all together and that can get costly. And that was a mistake we made, with some cuts needing to be recut bc they were just a little to small.

Budget Breakdown
The total cost of this built-in bookcase was $985. Here’s how it all breaks down…
- White oak veneer plywood sheets $200 each x 4 = $800
- white oak edge banding $70
- Stain and accelerator $60
- adjustable bookcase feet $30
- screws and misc $25
I didn’t include the cost of tools used bc these are tools that we already have and use on many projects. Obviously, if you needed to also purchase the tools needed for this project, it would be significantly more. BUT you can also rent tools from Home Depot and Lowes, which would be a big savings, if you don’t already have what you need. I linked to the the tool rental pages of each store above to make it easier to find what you need.
Can I recreate this project for a fraction of the cost?
Yes! To put it simply, just use a different kind of wood.
You can find plywood as low as $22 a sheet (for a 4×8), which would significantly lower the cost. For example, if we would have only changed that one material, the total budget breakdown would have been less than $300 total. And we could make some additional tweaks to the other supplies (edge banding and stain/ accelerator) that would bring the cost down even more. So, it can be done!


