This website may contain affiliate links and advertising so that we can provide recipes to you. Read my privacy policy.
Blind baking a pie crust is key to the perfect pie. I’m going to show you how to do it and why it’s so important!
Whether you’re using a premade or homemade pie crust, blind baking is going to ensure it doesn’t end up soggy. It’s a simple step that will take your homemade pies to the next level.

What is Par-Baking?
By now, you’ve probably seen the term blind baking (also known as par-baking) scattered throughout pie recipes. This technique is used to bake a pie crust either partially or completely before any filling is added. As simple as it may seem, it’s a crucial step in making sure your pie crust is everything it should be; golden, flaky, and delicious as opposed to soggy and/or undercooked.
Don’t let blind baking intimidate you. It’s actually really easy! First, determine whether the kind of pie you’re making requires a partial or full blind bake. (I’ll tell you the difference below!) From there, all you need is some parchment paper, a pie dish, and either beans or pie weights to start the process!
Do I Need a Full or Partial Bake?
- Full Blind Bake: You’ll want to completely bake your pie crust if you’re using a filling that isn’t cooked, or needs time to chill and set. This includes most cream-based pies such as coconut cream, banana cream, key lime, etc. A full blind bake requires a longer cooking time.
- Partial Bake: A partial bake is suitable for pies with a filling that is cooked in the crust. This includes things like fruit pies (apple, berry, cherry, peach, etc.) and quiches. A partial blind bake requires a shorter cooking time.
Using Pie Weights
If you want your pie crust to retain its shape, I highly recommend using some sort of pie weight. I used traditional pie weights but you can use other substitutes such as uncooked beans, uncooked rice, or a pie plate in the center. You just want it to be heavy enough that it will keep the sides of your pie from shrinking down, and the bottom from puffing up. Regardless of what you use, just make sure the weight is evenly distributed.
What is Docking?
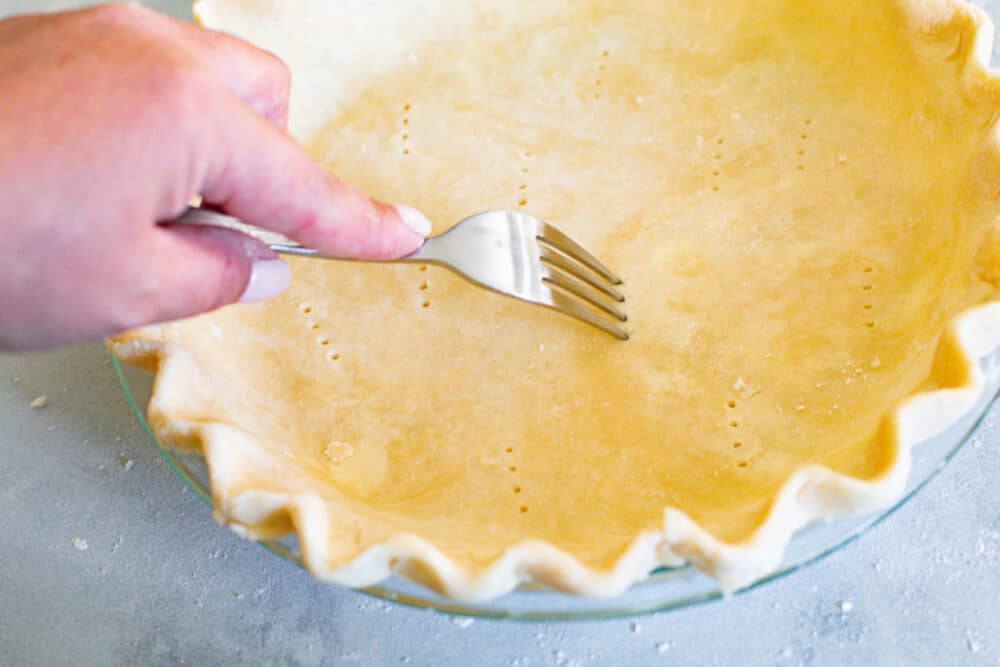
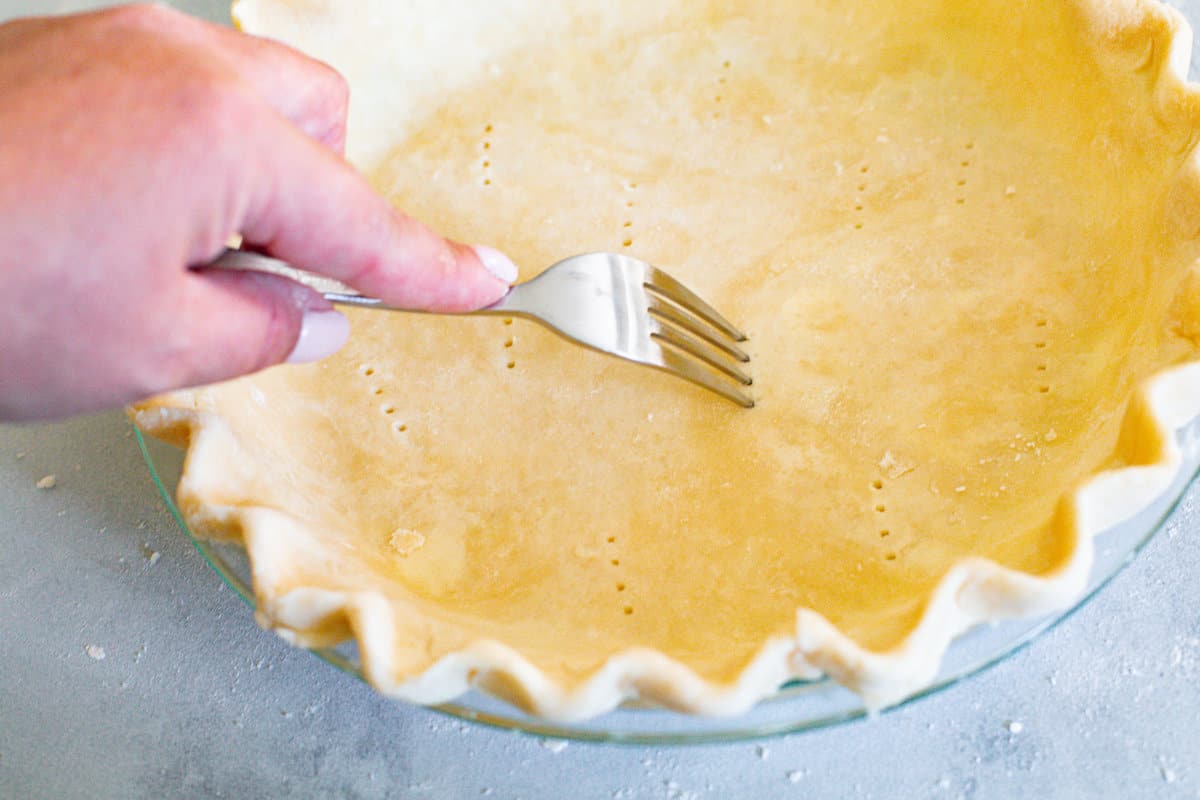
Docking is a simple technique where you prick the bottom of your pie crust with a fork before you bake it. The little holes allow steam to escape so that the bottom of the crust doesn’t puff up. Some people swear by this alone to help their pie crusts retain their shape during the baking process, but I like to use it in tandem with pie weights to keep any puffing or shrinking from happening. A combination of docking and pie weights is the best way to get that picture-perfect pie crust.
How to Blind Bake a Pie Crust
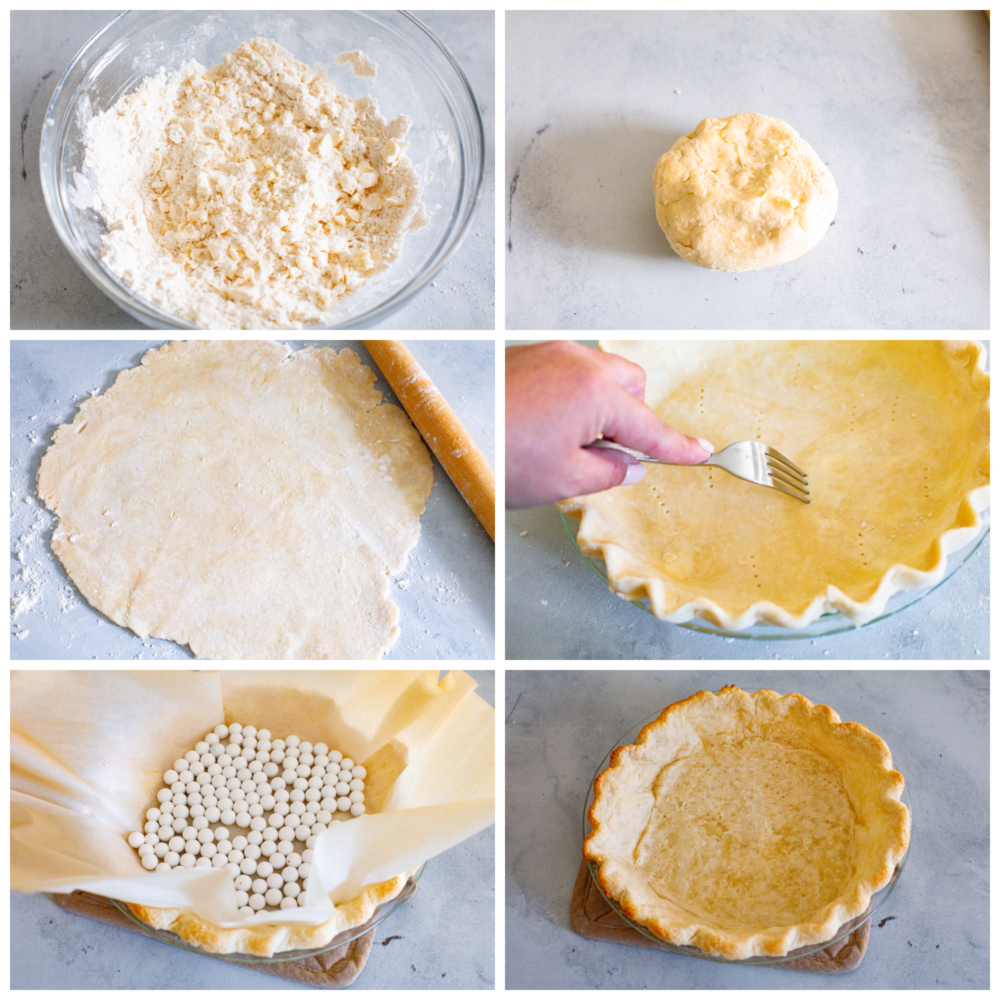
Now that you’re familiar with the process, here are step-by-step instructions on how to get that perfectly golden, flaky pie crust!
- Preheat: Preheat the oven to 425 degrees Fahrenheit and place the rack in the lower third of the oven.
- Prep Crust: Using either a premade or homemade pie crust, roll it out and transfer to a pie dish, crimping the edge as desired. Prick (dock) the bottom of the crust a handful of times with a fork. Chill the crust in the freezer for 15-20 minutes.
- Remove from Freezer: Once the crust is chilled, remove from the freezer and line the center with parchment paper making sure the parchment goes up the sides.
- Add Pie Weights: Fill the parchment with ceramic pie weights. You may also use uncooked beans if you don’t have pie weights.
- Bake: Bake for 15 minutes, until the edges of the crust begin to brown. Carefully remove the crust from the oven and lift the parchment and pie weights out of the crust. Transfer the hot weights to a plate to cool. *Note: Stop here if you are only partially baking your crust.
- Cook Until Golden Brown: Place the crust back in the oven and bake for 5-8 minutes, until the bottom is golden brown and cooked through.
- Cool and Add Filling: Remove the pie crust from the oven and let cool completely before adding the filling of your choice.
Extra Tips and Tricks
Here are a few extra tips to keep in mind as you par-bake your favorite pie crust recipe!
- Chill Your Dough: Chill the crust before baking to allow the fat in the dough to harden. This will help the crust maintain its shape as it bakes.
- Use Parchment Paper: I recommend using parchment paper instead of aluminum foil. Foil tends to stick to the dough of the crust, which means you can risk pulling it up and creating a hole in the bottom when it’s time to remove the weights. Using parchment paper will help keep this from happening.
- Using Beans as Pie Weights: Uncooked beans are inexpensive and readily available in most grocery stores and they make perfect pie weights! Use enough beans to fill the crust about halfway. Let them cool completely before placing them in an airtight container. The same beans can be used over and over.
- Let Your Crust Cool Completely: Let the crust cool completely before adding your filling. This will allow it to release any steam or heat that might be trapped by a filling, which can end up resulting in a soggy crust.
How Long Will My Par-Baked Pie Crust Last?
Baked and unfilled pie crusts can be stored at room temperature for 5-7 days, though they are best filled and used within the first 2-3 days. They may start to get a little soft if they sit for too long.
- At Room Temperature: Let the crust cool completely before placing in an airtight container. Use within 3 days.

-
Preheat the oven to 425℉ and place the rack in the lower third of the oven.
-
Roll out the pie crust and transfer to a pie dish, crimping the edge as desired. Prick the bottom of the crust a handful of times with a fork. Chill the crust in the freezer for 15-20 minutes.
-
Once the crust is chilled, remove from the freezer and line the center with parchment paper making sure the parchment goes up the sides.
-
Fill the parchment with ceramic pie weights. You may also use uncooked beans if you don’t have pie weights.
-
Bake for 15 minutes, until the edges of the crust begin to brown. Carefully remove the crust from the oven and lift the parchment and pie weights out of the crust. Transfer the hot weights to a plate to cool.
-
Place the crust back in the oven and bake for 5-8 minutes, until the bottom is golden brown and cooked through.
-
Remove the pie crust from the oven and let cool completely before adding the filling of your choice.
Serves: 1
All nutritional information is based on third party calculations and is only an estimate. Each recipe and nutritional value will vary depending on the brands you use, measuring methods and portion sizes per household.


