Helping my father in his sweet corn patch is one of my earliest memories. I recall that the corn plants and the plot they grew in were huge. Many years later, I happened to be passing through my old neighborhood and stopped by the house. To my amazement, the yard was much smaller than I had remembered. I realized then that Dad had figured out how to grow corn in a small space.
My own kitchen garden now takes a little slice of my scant third-acre lot—the kind of garden everyone knows is too tiny for sweet corn. Thanks to Dad, though, I grow sweet corn every year in small batches, so I know it can be done. And I do it with good reason.
Sweet corn, more than any other vegetable, suffers from any delay between harvest and eating. Even the new sugar-enhanced and supersweet varieties are better when just minutes pass between picking and eating. There is only one way you can taste corn at its peak of flavor and sweetness: Grow it yourself.
Favorite varieties of sweet corn
Sweet corn kernels may be golden, white, or a combination of the two. The golden varieties tend to contain more vitamins, while the white ones are often a bit more tender. Varieties can also differ in maturity date, size of plant and ear, tolerance of the seed for cold soil, resistance to drought, and heat requirements. So be sure to take all these factors into consideration before picking what kind of corn you’ll grow.

1. Tried-and-true corn varieties
Traditional varieties of sweet corn stay at their ideal ripeness for only a short time before becoming starchy, whether the ears are harvested or left on the plant. Nevertheless, some varieties, such as ‘Golden Cross Bantam’, ‘Silver Queen’, ‘Seneca Chief’, and ‘Country Gentleman’, tend to be milkier and have a good substantial texture. The tendency to become starchy is strongly influenced by adverse conditions, so regional differences are always an issue.
2. “Supersweet” corn varieties
These options are sometimes called “shrunken-gene” corn due to the shriveled appearance of the seed. They carry a mutant gene that considerably slows the conversion of sugar to starch inside the kernels. The result is sweeter corn that retains its sweetness much longer than traditional varieties. Unfortunately, this type of corn, known in shorthand as “sh2,” is extremely susceptible to problems with cross-pollination. Cross it with another variety, and the result is field corn. Also, sh2 varieties are more susceptible to rotting in the ground. As a result, seed treated with a compound to prevent fungus is common. These varieties also require a great deal of water to germinate. This type of corn is more tender but much less milky than traditional varieties. Two sh2 varieties I like are ‘Illini Xtra Sweet’ and ‘Early Xtra Sweet’.
3. Corn varieties that extend the harvest
Also known as “sugar enhanced,” this type of corn is abbreviated as EH or SE. While not as sweet as sh2 varieties, EH/SE corn maintains its sweetness much longer—both on the plant and after picking—than traditional varieties. The milkiness of this type is closer to traditional varieties and is less affected by cross-pollination than sh2 varieties. Some of my favorites include ‘Kandy Korn’, ‘Butter and Sugar’, and ‘Peaches & Cream’.

Basics of growing corn in a small plot
Growing corn isn’t hard if you embrace a few tips and tricks.
Good soil is the key to healthy corn
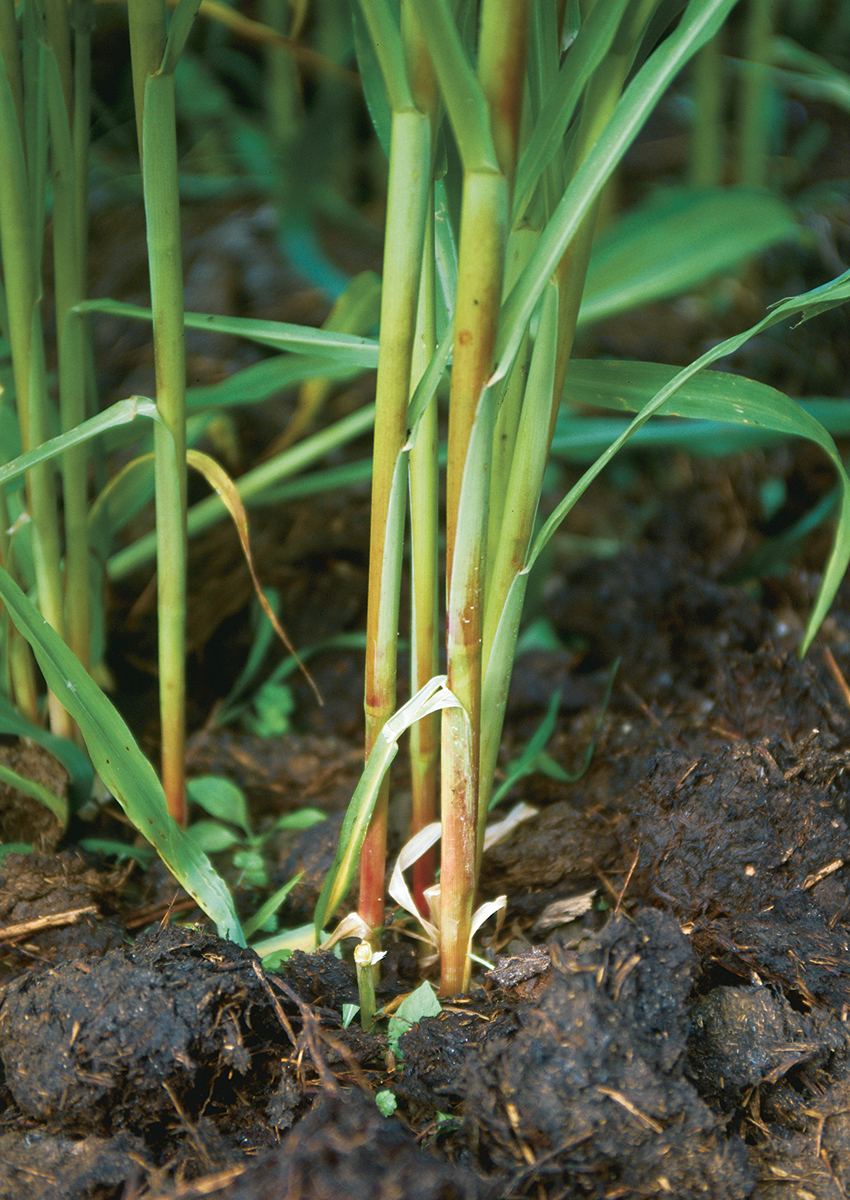
First and foremost, soil fertility is everything. Corn feeds heavily. Growing it intensively in a small plot only heightens the demand for the best soil. Cornstalks will grow under less-than-perfect conditions, but they will not reach the proper height and width before tasseling, which will cause the ears to be few, small, and misshapen.
For me, proper fertility means:
- 2 inches of compost or manure dug into the soil the previous fall, along with as many fallen leaves as possible—6 inches deep is not too much; and
- weekly foliar feedings of compost tea and seaweed extract from the time the plants are about a foot tall.
Hilling corn plants improves the harvest
Corn in small patches should be planted in “hills.” This does not refer to—as is commonly the case in gardening—elevated mounds of soil.
- Plant several seeds together so that three stalks grow from each hole, or “hill.” High-density growth for good pollination is what you’re after. This wouldn’t be a factor in a quarter-acre or more of corn, but it is critical in a small patch. If you get too many stalks, however, the crowded conditions will cause spindly growth that won’t provide a good yield.
- Space the hills closer together than is customary; 8 inches or so is about right.
Create rows of corn for better results
It also makes no sense to plant just one or two rows of corn. To ensure proper pollination:
- plant your corn in blocks consisting of at least four or five short rows planted side by side, rather than a few long rows; and
- provide 18 inches or so between rows.

How to direct-sow corn seed
- Dig 2-inch-deep holes that are properly spaced.
- Drop four seeds into each hole. It’s a good idea to sow an extra seed in case one fails to thrive, and it’s easier to thin than restart the seed.
- Gently cover the seeds with soil, and water well.
All of this results in a plot of corn about 8 feet square, a stand dense enough that the gardener across the street may tell you it will never produce. You can, however, make a friendly wager with confidence and bet that it will. If your soil is sufficiently fertile and you keep up with watering, you can expect to get about two decent ears per hill. You will get fewer ears on the outer rows where pollination usually is the weakest. That’s one of the reasons for planting multiple short rows rather than fewer long ones.
Warm soil and presprouting ensure corn’s success
The first fresh sweet corn of the season is such a treat that many gardeners will go to a great deal of trouble to plant as early as possible. Corn seed that’s been treated to protect against fungus can be planted a week or two earlier than untreated seed.

But warming the soil is almost equally effective. About a month before the last frost date, cover the plot with black plastic, and cover the plastic with a floating row cover. The coverings should be left in place until the soil reaches at least 60°F, which takes a week or two in my USDA Hardiness Zone 5 garden. When the soil is warm enough, remove the plastic and the row cover, plant the seed, and reapply the floating row cover.

You can give seeds a jump by presprouting them. Soak them in warm water for several hours (but not overnight, or they will rot). Drain and rinse the seeds well, and put them in a warm place with gentle bottom heat. Rinse and drain the seeds every 12 hours. A suitably sized canning jar, the lid replaced with a disk of the window screen, is ideal for this purpose. You want a tiny white root emerging from about half the seeds. If you let all of them sprout, you’ll wind up having a tangle and risk damage. The sprouting takes three days at most.
The sprouted seed must be planted immediately; if not, it will become tangled and impossible to plant without damage. Newly planted corn must never be allowed to dry out.
Because sweet corn has a poor yield per square foot, I work to get two crops from the same plot. I plant a quick-maturing leaf crop in the space that will later be occupied by the corn. Spinach is ideal, as it can be readily frozen for winter use; therefore, a large amount can be planted without worrying about eating it all before the ground is warm enough to plant corn. Other cold-tolerant greens work just as well.
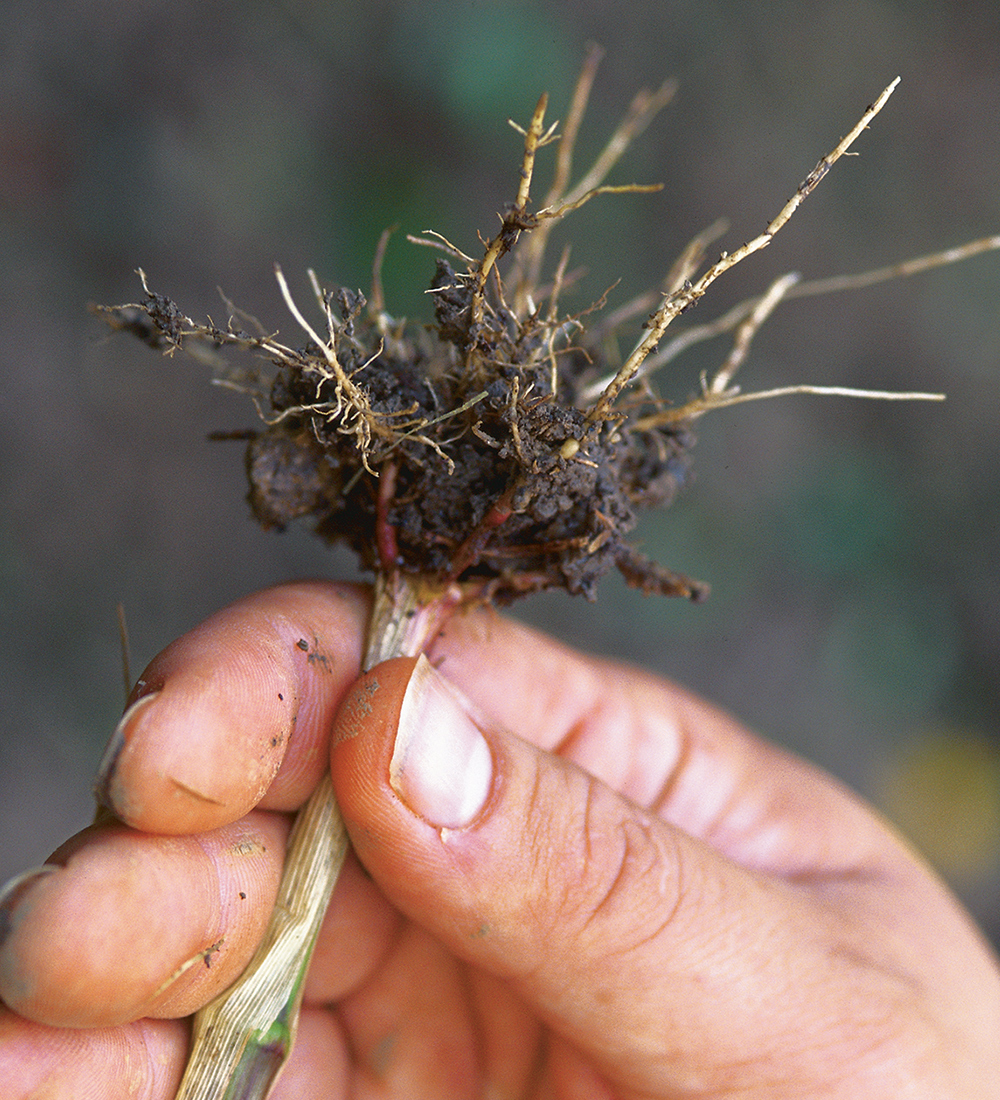
With corn, you can intercrop any edible that can be planted in early spring and matures fast. It must be ready to harvest before the corn is knee-high and starts to shade what’s below (about 30 to 45 days). Corn has shallow feeder roots, which must not be disturbed after the stalks get going. At that time, you should carefully remove the other crop and apply a thin top dressing, such as another scant inch of compost or manure.
Diseases and pests that affect corn
Fortunately, sweet corn isn’t greatly affected by insects in most kitchen gardens. This tendency can be supported by rotating crops and by good sanitation, particularly cleaning up crop remains and using cornstalks as a soil amendment only if well composted.
Huitlacoche
One disease that looks quite alarming to the uninitiated is called corn smut, or huitlacoche. This is a fungus that sometimes causes developing kernels to swell up to many times their normal size. The kernels turn gray and eventually black.
But many people eat huitlacoche because it is delicious. I remove the cobs when the huitlacoche first turns silvery, then sauté it in olive oil with a little onion and some peppers. I eat it with pasta or rice.
After harvesting, I remove the affected ears and stalks and dispose of them to avoid my crop being infected the following year.

Earworms
Earworms, larvae that enter the silk end and eat young kernels, aren’t so bad. They rarely eat a whole ear, and it’s easy to remove the damaged areas prior to eating the corn. Because they seldom live long enough to mature and reproduce, they don’t pose a problem, except in areas where field corn grows. If a problem does appear, Bacillus thuringiensis (Bt) applied to young silk combats earworms.
Other insects are even less likely in small plots and are best discussed with a local extension agent or seed supplier.
Birds and deer
Birds may eat seeds or sprouts. But again, this is not usually a problem in small plots if they are kept fertile and filled with diverse crops. Deer and other grazers love corn as much as you do. But the worst pest by far is the raccoon. These critters know all too well the smell of ripening sweet corn and are drawn to it irresistibly. They are clever, fearless, resourceful, and nocturnal. My yard, patrolled by a pair of smart hunting dogs, is still occasionally bothered.
—George L. Egger II, an industrial chemist, grows small blocks of corn in the heartland of Washington, Illinois.
When do you pick corn?
by Joe Smith
If you have not recently eaten minutes-fresh sweet corn, you undoubtedly feel that the above is an absurd amount of trouble to go through for something so readily and cheaply available at any roadside stand. If you are addicted to the incomparable taste of truly fresh sweet corn, however, you will just as undoubtedly join my father and me in finding room for it in your garden.
Knowing when it’s time to harvest your corn can be tricky. Each stalk usually produces two ears, with the one closest to the top ripening first. There are a few signals to let you know that it’s ready to be picked.
The plumper, the better
A ripe ear of corn should be fat and firm—much more so than the lower ear on the stalk.
Test the tops
The silk coming out of the tip of the ear should be brown and dry (below). Silk that is moist and still soft and supple means the corn is not ready.
Look for the lean
Corn should start leaning away from the main stalk—almost as if it’s trying to jump off the plant and into the bushel—when it’s ready to be picked.

—Joe Smith and his wife grow corn at Smith’s Acres, their 35-acre farm in Niantic, Connecticut.


