It’s a closet makeover! And I promise, it’s not as boring as it sounds.
We all have that closet or two that could really use some help…and maybe even a makeover. In our house, it’s the guest bedroom closet. Probably because it was the least used room in our house, when we moved in. So we just shoved whatever we could in there, and forgot about it for a while.
But slowly, it’s become a space that we actually use. For guests, when they come to visit, obviously. But also for us as a family – nap time for Hayes when we need a change of scenery, tv time when we want to lay down (since we don’t have a tv in our primary bedroom), etc.
And because that closet doesn’t have a door, the cluttered vibe was really starting to get depressing. It was TAKING OVER! That’s how this closet makeover came about. I carved out some time to clean everything out, donate what we didn’t need, brought some larger stuff to storage, and painted the walls and ceiling to match the rest of the room (Chantilly Lace from Benjamin Moore).
With the clean slate, I was able to bring back in only what we needed in here. Now, the closet feels like a part of the room – with functional storage space AND cute decor type things. It’s a balance.
Click through for all the before and after photos and sources links.


Closet Makeover (Before Photos / Progress)
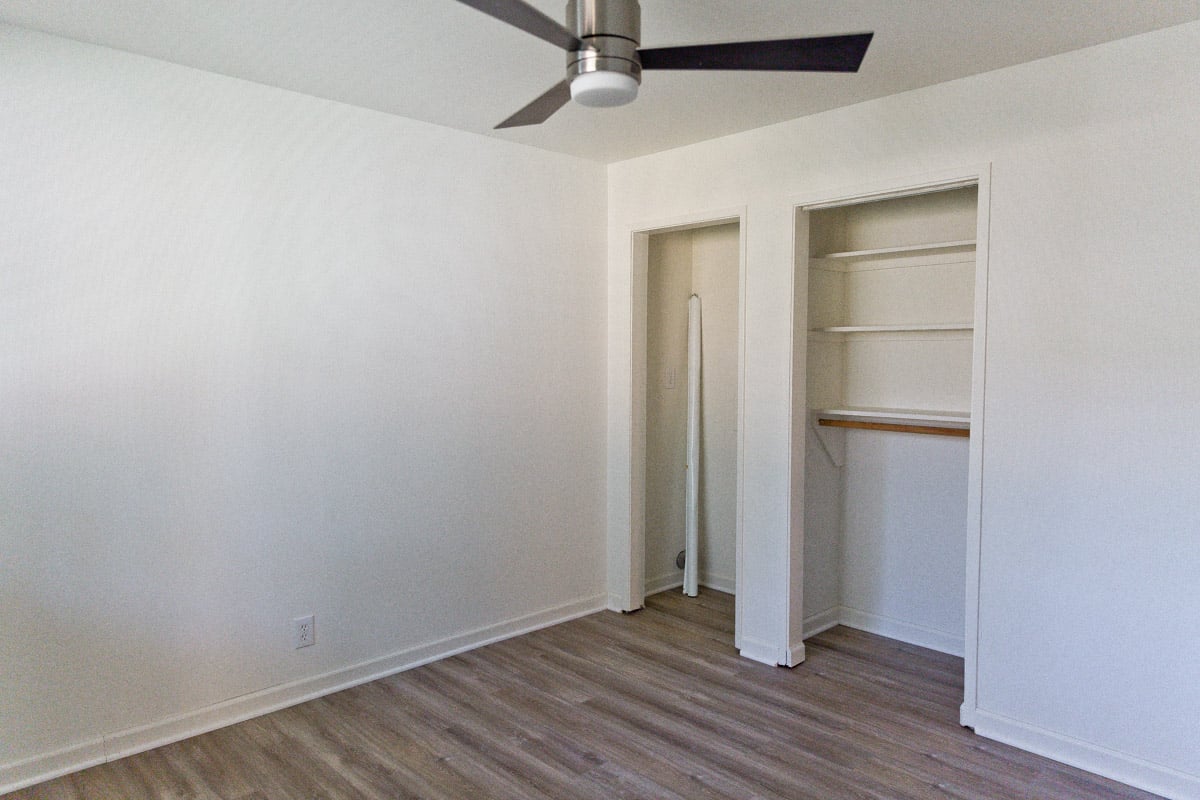
When we first moved into this house, this room had two small closets, with no doors. The no doors on closets seemed to be a theme.
It felt like a very different room back them. Pretty dark with the old flooring and closed off with the two tiny closets. There was also a washer/dryer hookup in one of the closets, but it wasn’t large enough to actually fit a washer and dryer. Lol.
Anyway, when we had new floors installed, we also had the crew knock down the wall between the two closets to make one big one. This works so much better for us and opened up the space a little as well. Feels more like usable square footage now, since we’ve opted to keep running with the no closet doors theme (at least for now).
Closet Makeover (After)
After painting everything a crisp white, I installed some very simple white shelves. The ones I got are from Nathan James. Highly recommend them, if you’re looking for something like this. There’re easy to put together and are really good quality. Mine are matte white, but they come in other colorways as well.
Because we don’t have guests all that often, I decided to have the shelves go all the way down to the ground. BUT if you like this look, but want clothing storage (a place for hangers), another option would be something like the smaller 4 shelf bookcase with a hanging bar attached underneath the bottom shelf.
That said, here’s how the final shelves look all styled up in the guest bedroom closet…


I added some cute baskets and felt bins to keep some concealed storage. And filled the rest of the shelves with decorative objects that I previously didn’t have room to display. I kept the shelves semi-minimal, so when we do have guests, I can clear a few of them off for guest’s folded clothes and the items.
We kept the washer dryer hookup, in case we ever want to try the laundry in here. So, I covered it with a piece of artwork. You can kind of see it peeking out a little from behind there, but I think it’s fine. Not that noticeable.
Sources for everything on the styled shelves
Felt bins – Open Spaces
Woven baskets – Jenni Kayne and vintage
Artwork – Jen Ament and Nathaniel Russell
Candles – East Fork and Better Homes and Gardens and PF Candle Co
Wavy wood board – DIY cutting boards (I made it)
Vases – local potters and Target
Paper mache bowl – Amber Interiors
Ceramic bust – vintage
Ceramic dome – Fanny Penny


