This website may contain affiliate links and advertising so that we can provide recipes to you. Read my disclosure policy.
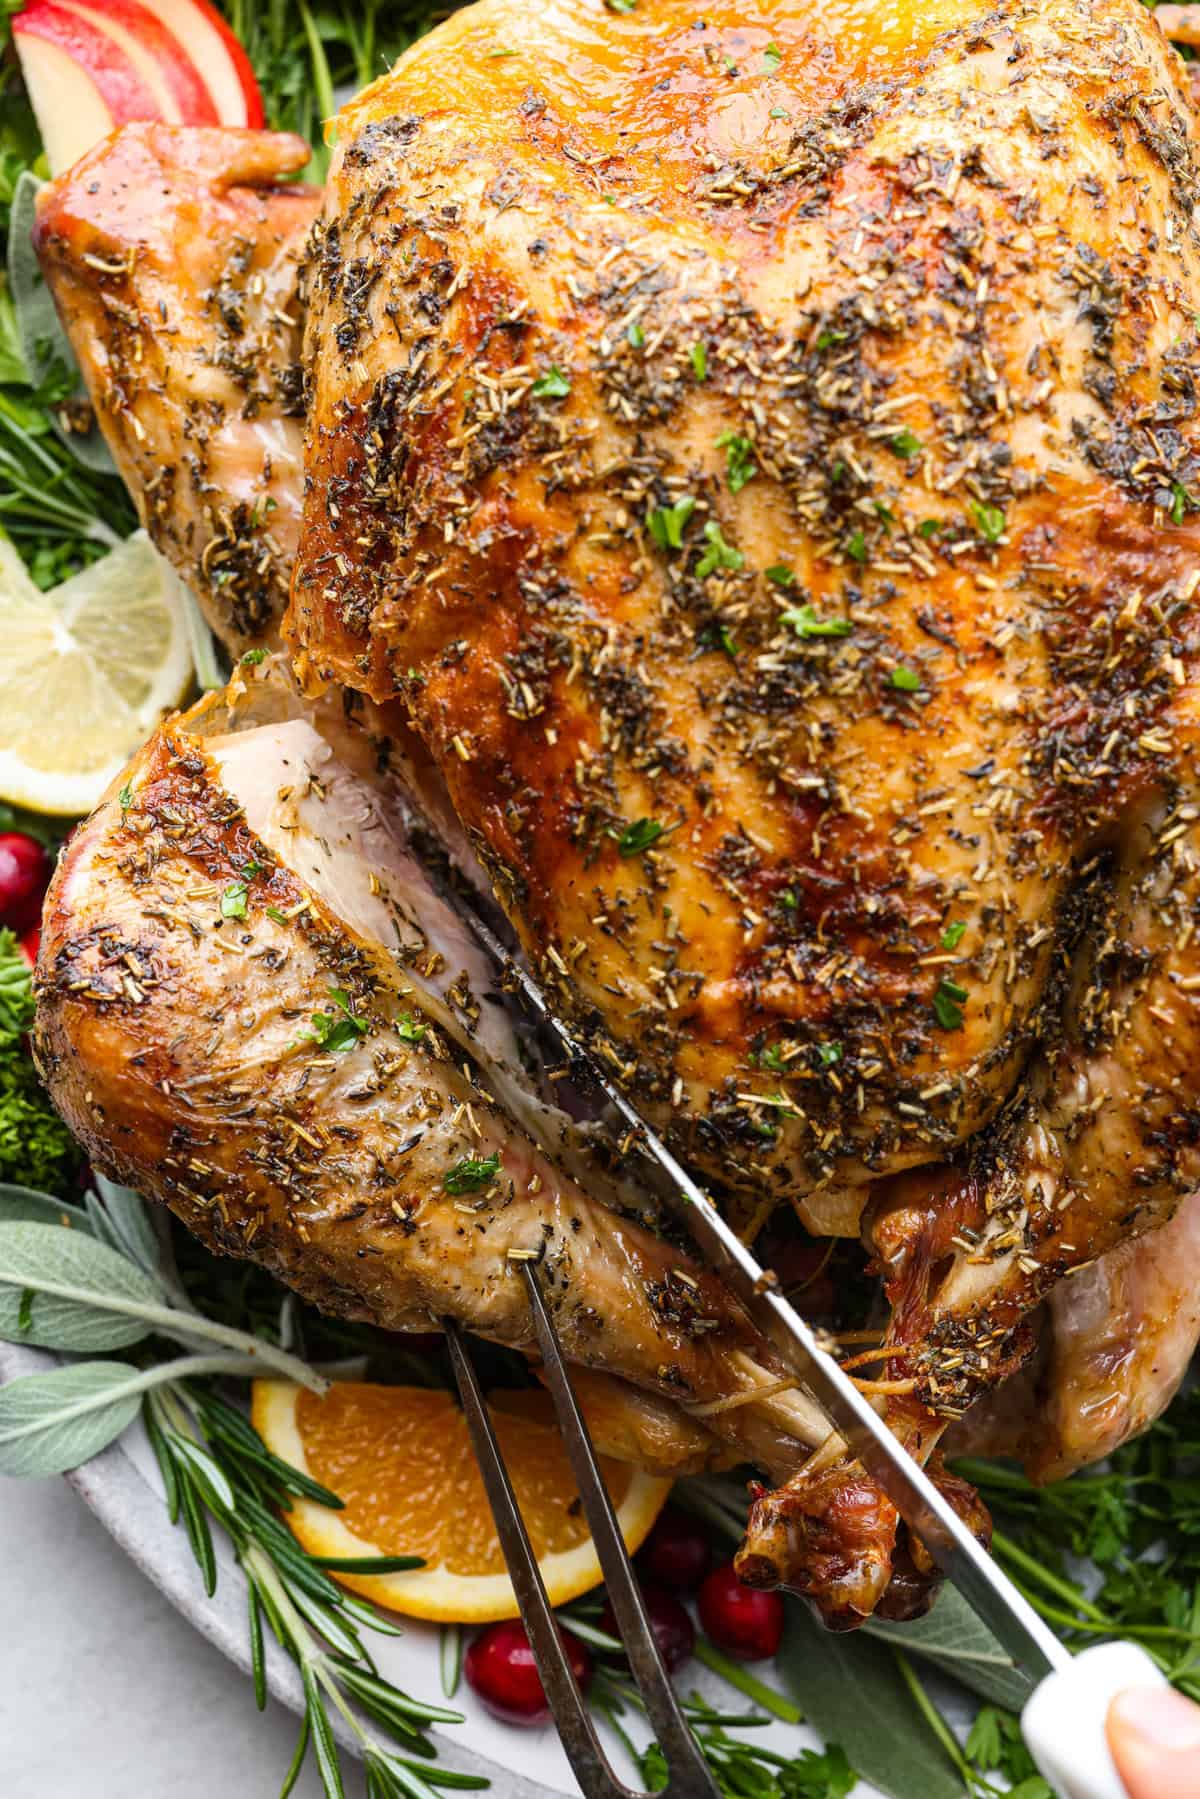
Learning how to carve a turkey is easier than you think! My step-by-step tutorial is here to help you along the way. Impress your guests with your beautifully carved turkey.
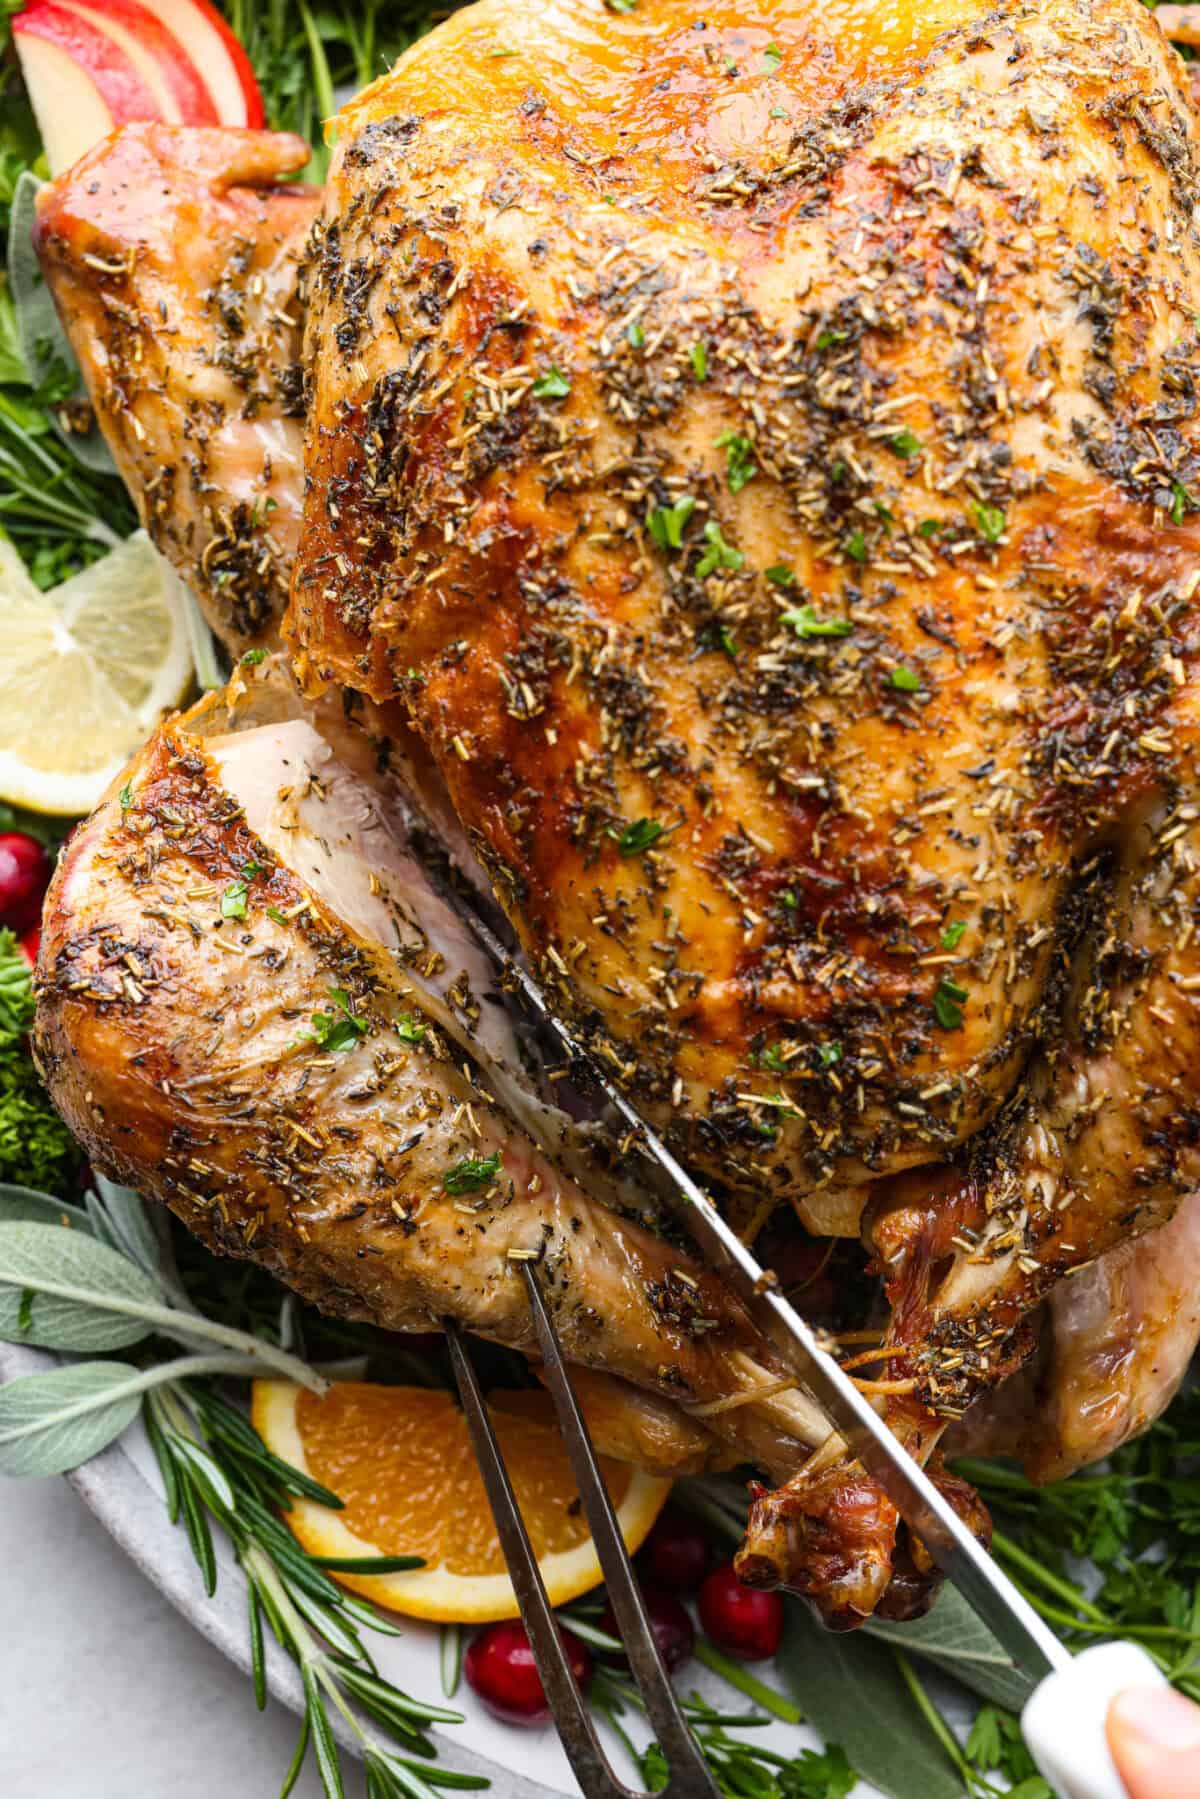

Reasons to Learn How to Carve a Turkey
- Step-by-Step Instructions: Follow my easy step-by-step tutorial to help you learn how to carve a turkey. My photos are SO helpful!
- Beautiful Presentation: Displaying a beautifully carved turkey makes a turkey dinner incredibly special.
- Get the Most Meat: There is delicious meat to be carved from every section of your bird. Knowing how and where to carve will maximize the meat you get out of your turkey. Use any extra meat for recipes like this soup or this casserole!
What to Know Before Carving a Turkey
Before you start carving your turkey, there are a few things you need to know! Follow my tips below so you’re prepped and ready to go before you cut into your beautiful bird.
- Let it Rest: It’s important to let your turkey rest before carving! Remove the turkey from the oven and allow it to rest for 20-30 minutes. This allows the juices to be redistributed, making it super juicy and easier to carve.
- Gather the Tools: You’ll need a sharp carving knife, a carving fork, a large cutting board with grooves to help catch juices, and a platter for serving.
- Position the Turkey Breast Side Up: Place the turkey breast side up on the cutting board. If it’s large, you might want to stabilize it by placing a kitchen towel underneath.
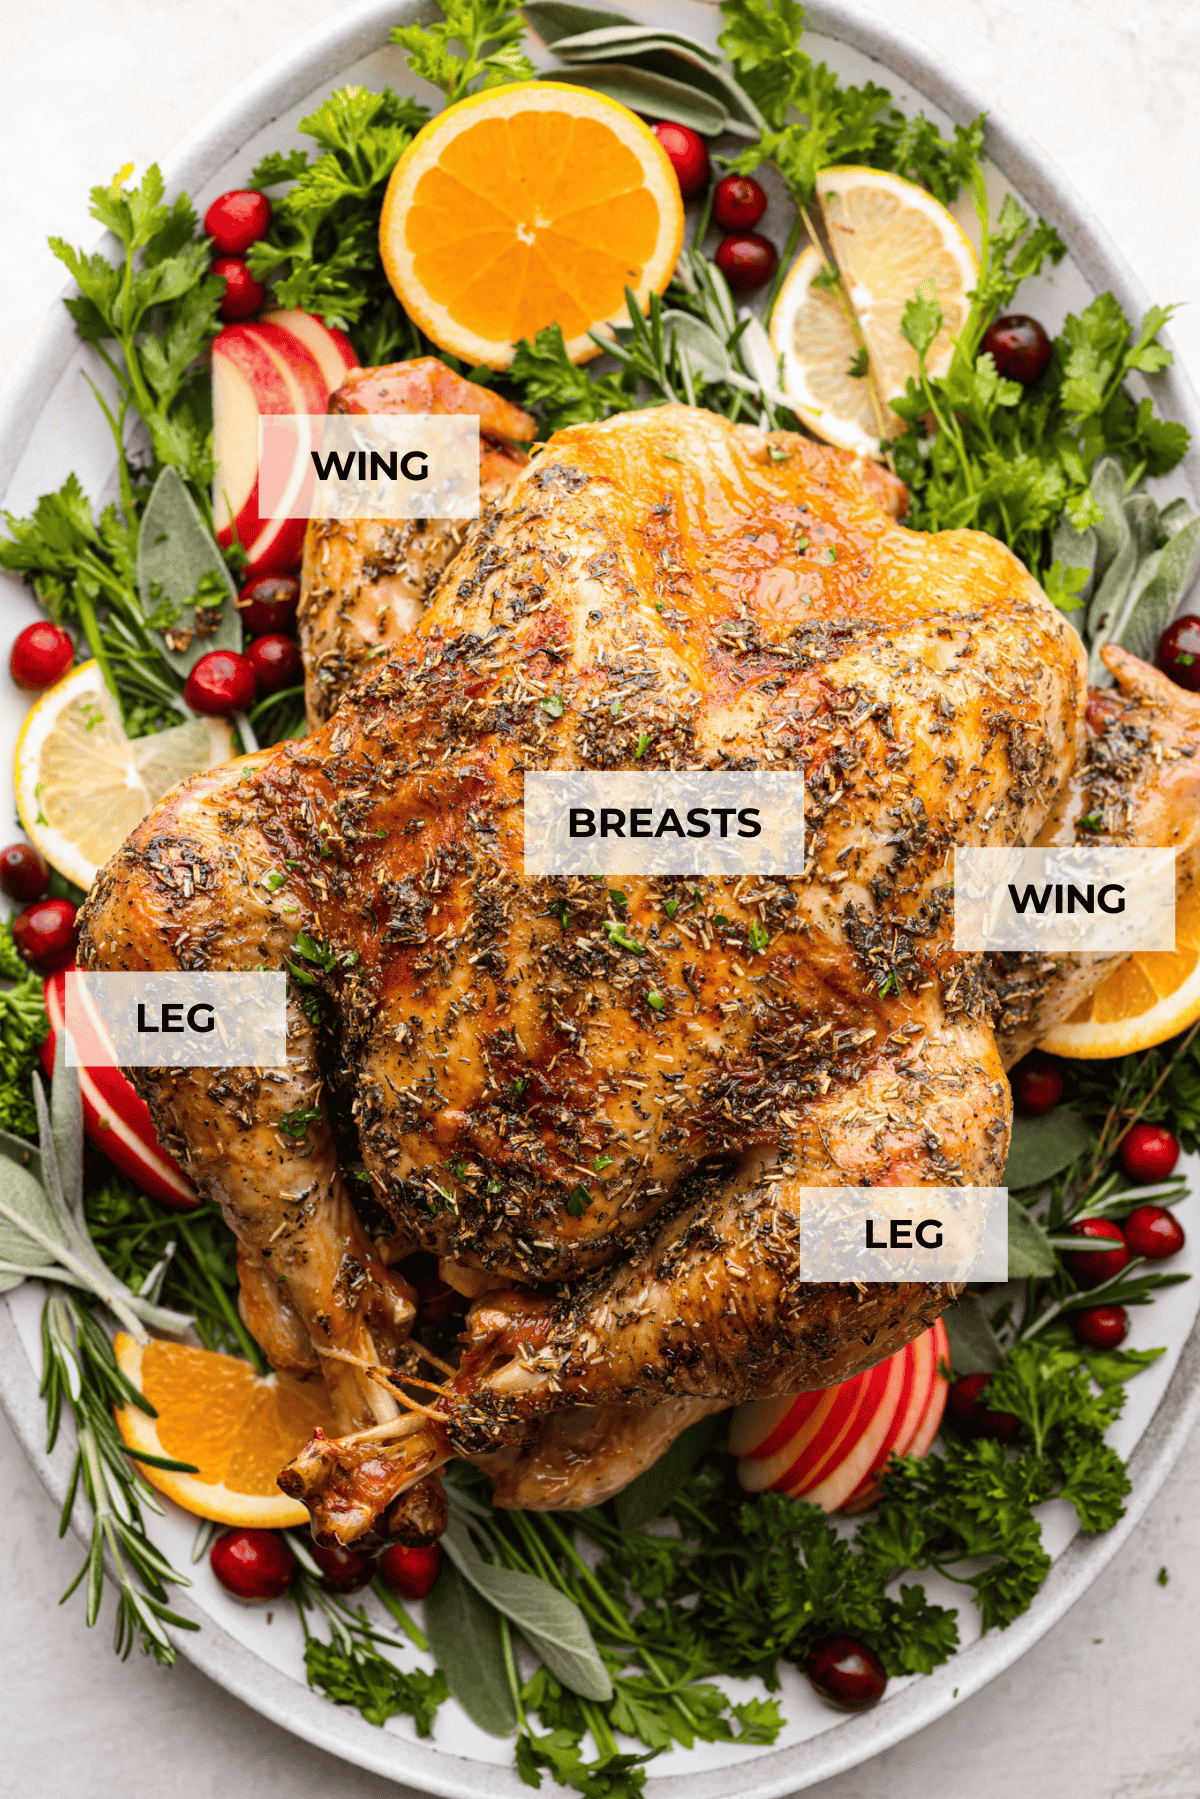
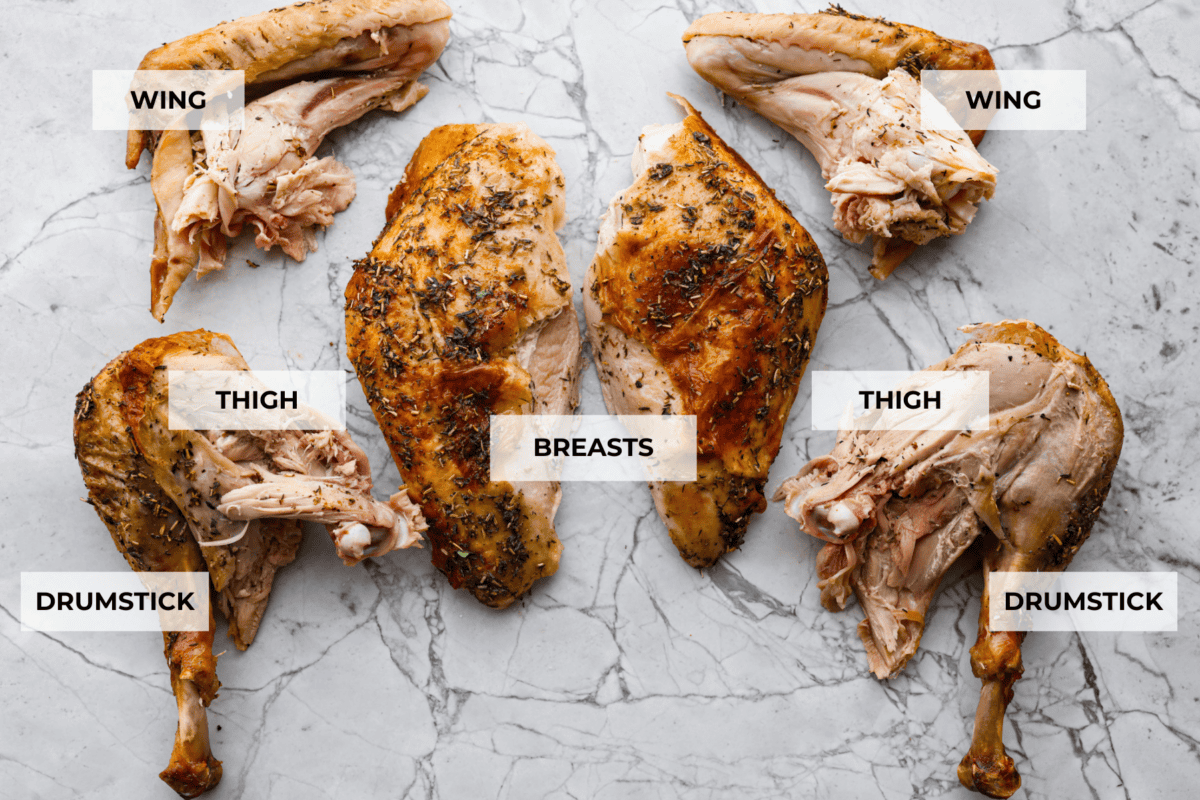
- Locate the Turkey Parts: I labeled the turkey and where to locate the pieces you will be cutting, carving, and removing. It’s super helpful if you’ve never carved a turkey before!
- Remove the Twine: Use a pair of kitchen shears to snip the twine holding the legs together!

Let’s Get Carving!
Carving a turkey can be intimidating, but I promise you it’s easier than it looks! Once you locate the pieces on the turkey, it’s easy to see where to carve. Follow my tutorial below to help you along the way.
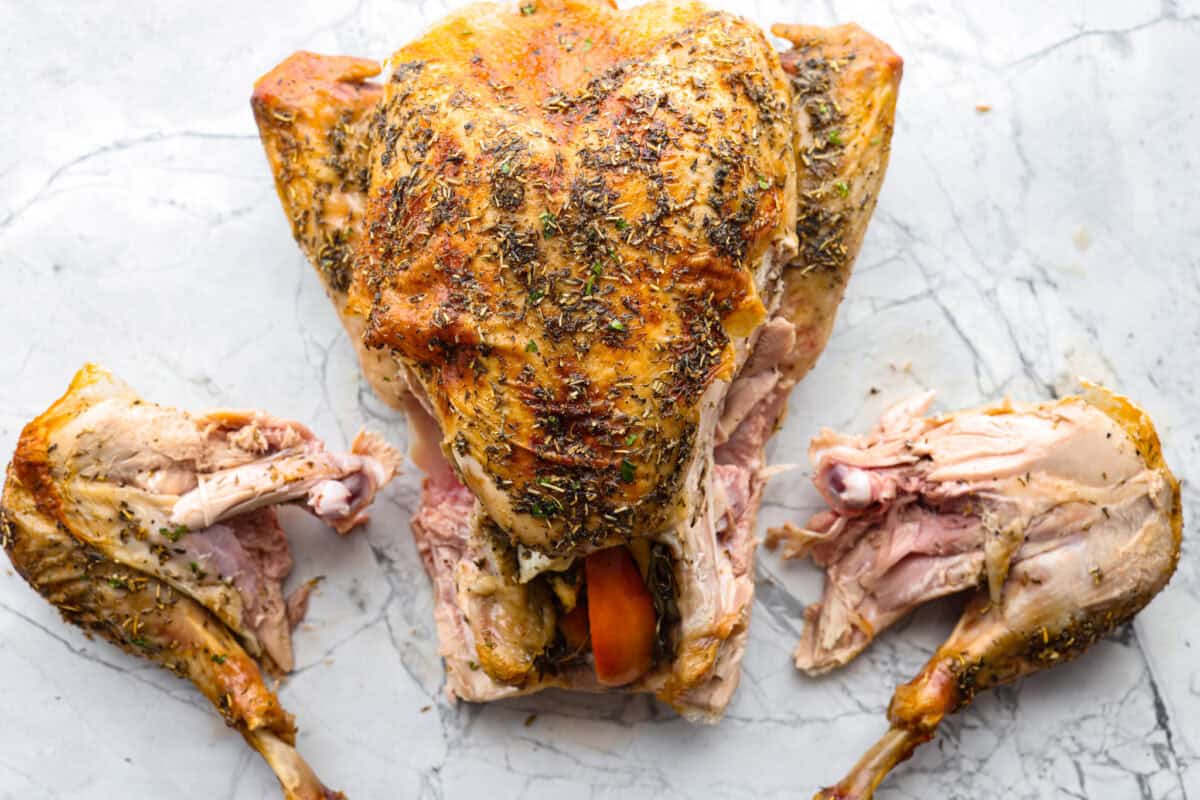
Remove the Legs
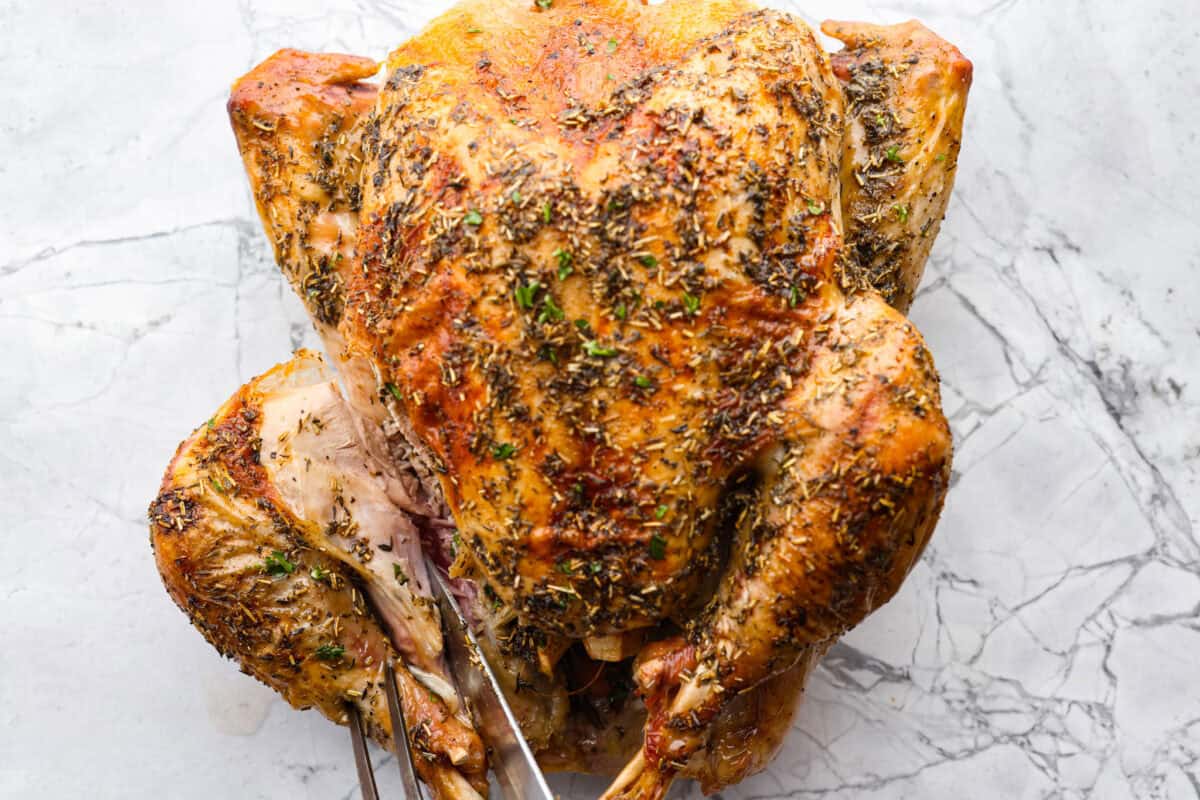
- Locate the Leg: The leg contains two parts: the drumstick and the thigh. Start by cutting through the skin between the leg and the body. Bend the leg away from the body to find the joint, then cut through it to remove the leg. Repeat on the other side.
- Separate the Thigh from the Drumstick: Identify the joint between the thigh and the drumstick. Cut through the joint to separate them.


Carve and Slice the Breasts
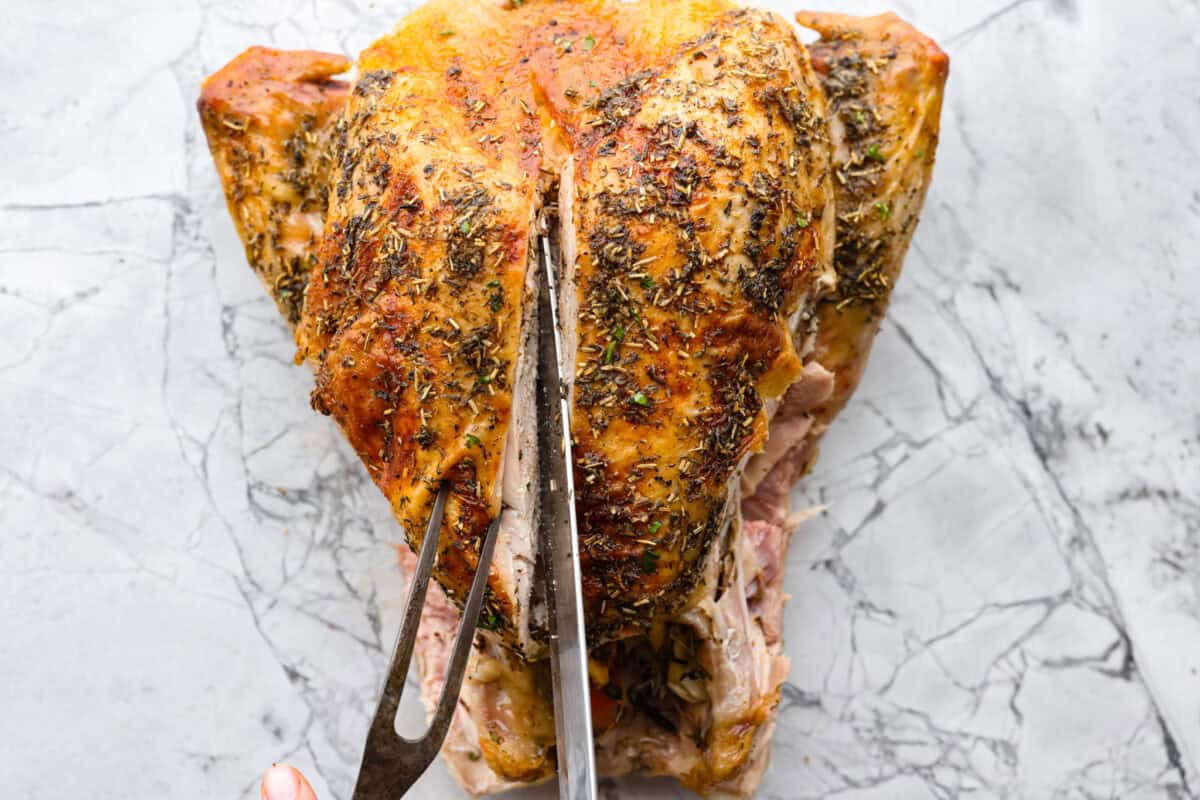
- Cut Down the Center: Make a long, even cut down one side of the center of the breastbone.
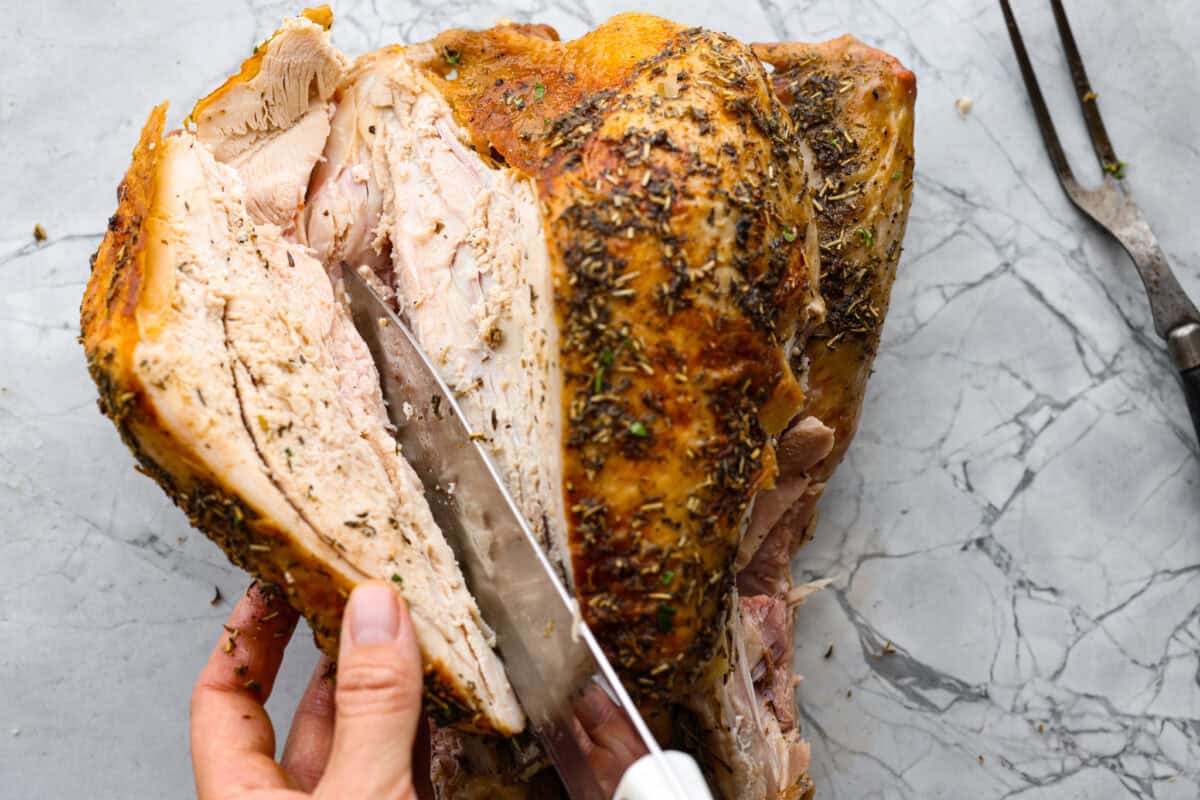
- Follow the Curve of the Bone: Slice down to the rib cage, then follow the curve of the bone.
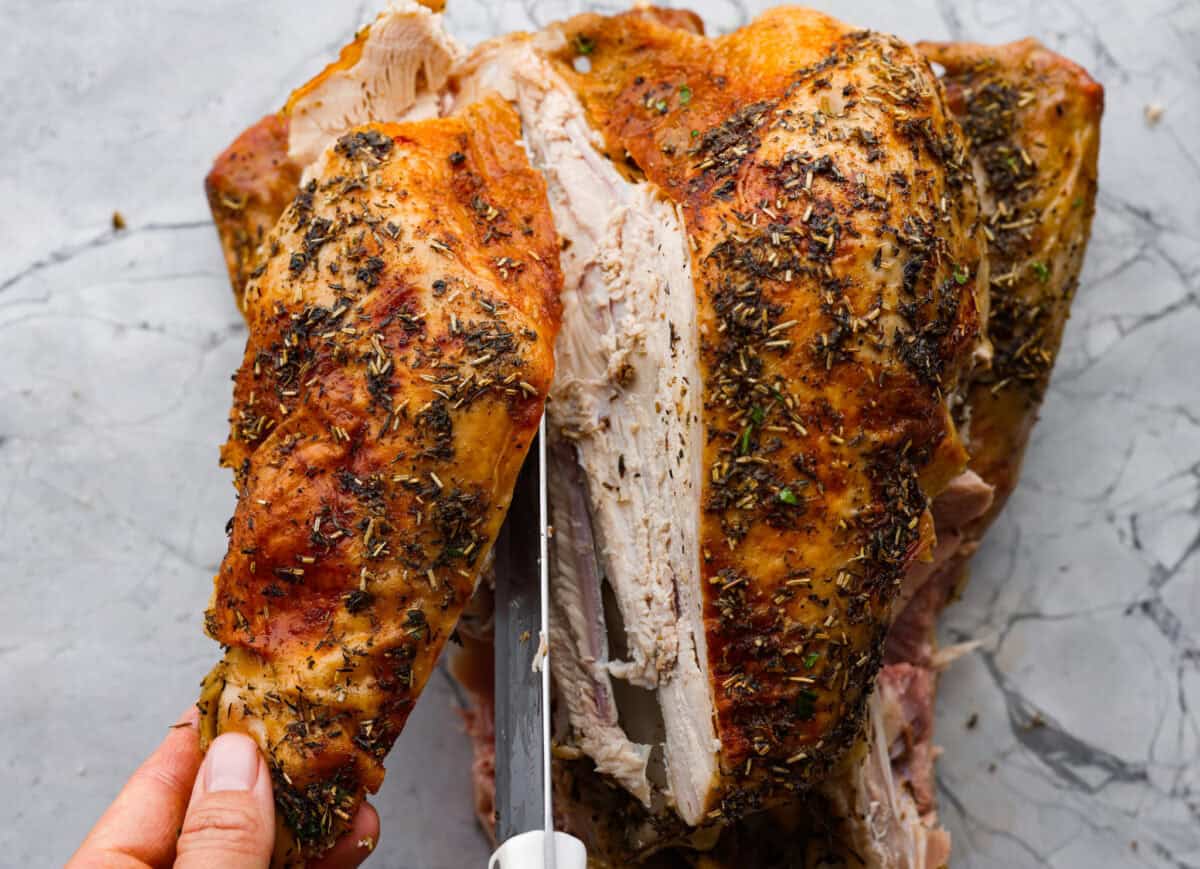
- Remove the Breast: Cut through and remove the breast completely from the bone. Repeat on the other side.
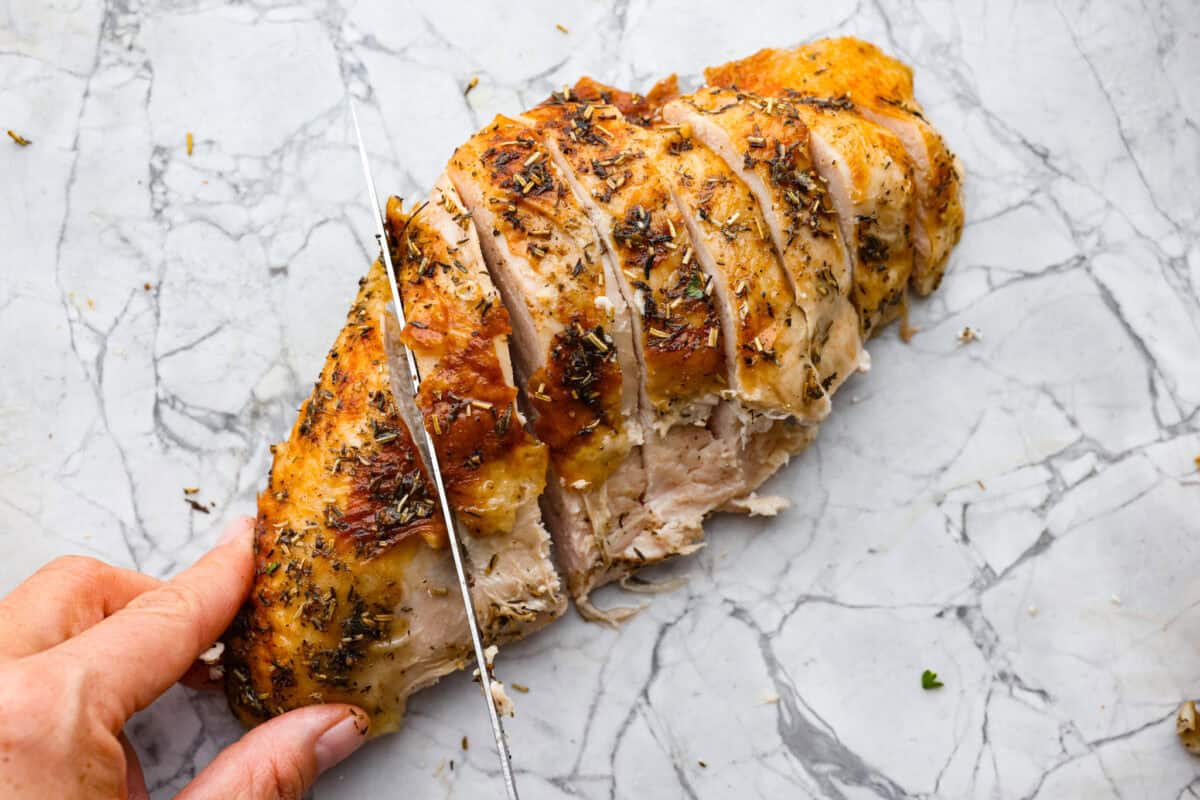
- Slice the Breast Meat: Slice the breast meat into even pieces against the grain. Aim for about ½ inch thick.




Remove the Wings
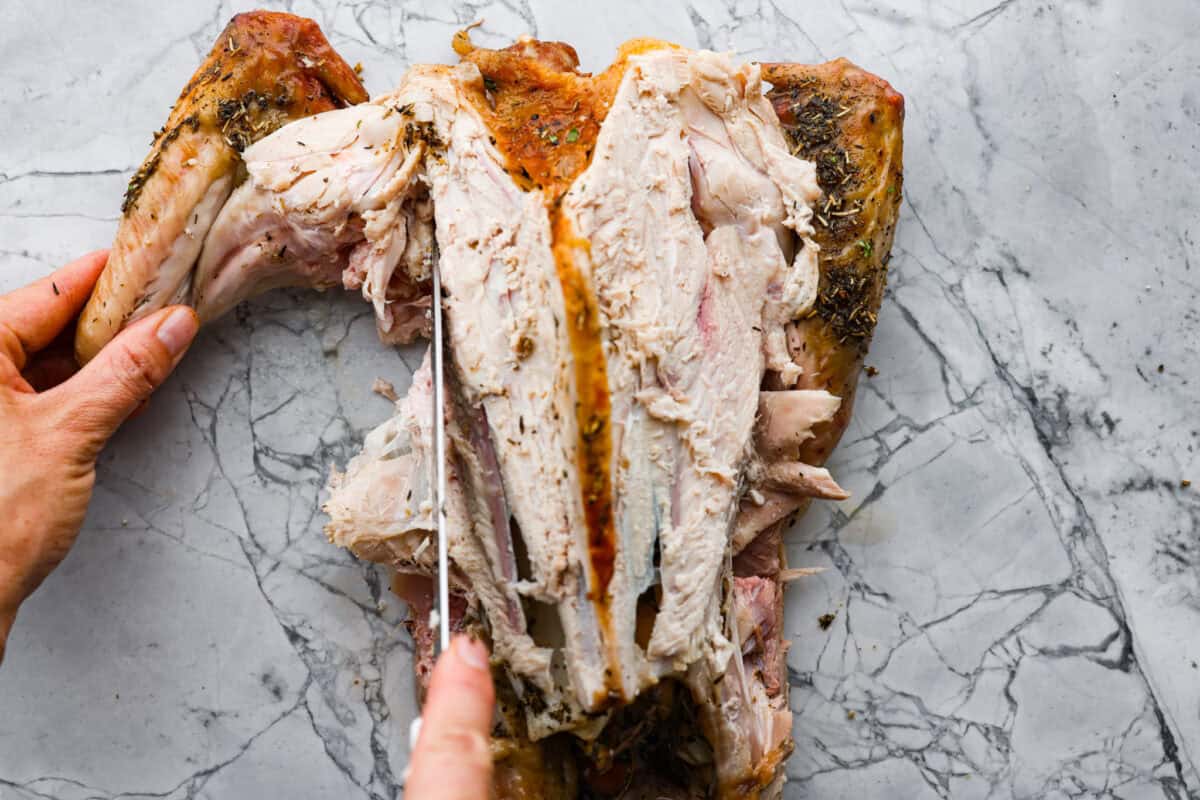
- Cut Off the Wings: Hold the wing with one hand, and cut off the wings on both sides of the turkey using your knife.

Turkey Carving Tips
Follow my carving tips to get the most out of your bird! I walk you through every step so that you can beautifully serve your turkey to your guests.
- Rest the Turkey: The turkey needs time to rest to ensure the turkey remains moist, juicy, and full of that amazing flavor. Letting the turkey rest also helps the moisture redistribute throughout the meat and retain the tenderness. Let the turkey rest for about 20-30 minutes, and then it is ready to carve!
- Use a Large Cutting Board: Be sure your cutting board is larger than your turkey. I like to use a cutting board with edges to catch the juices.
- Natural Joints and Seams: If you’re unsure about where to cut, look for natural joints and seams.
- Dark Meat: If you have guests who love dark meat, it’s located in the thigh meat and the leg meat of the turkey.
- Practice: Practice makes perfect, so don’t worry if it’s not perfect the first time! Every year you’ll get better and better.
- Save the Carcass: Don’t forget to save the carcass to make stock later!
What is the Best Knife For Carving?
The most important thing when carving your Thanksgiving turkey is to use a sharp knife! You can use a chef’s knife or a serrated knife to carve a turkey, but if you really want to make it easy, use an electric carving knife!
Ready to Plate and Serve
Now that you have your turkey pieces separated and removed from the turkey carcass, it’s time to arrange it on a platter and serve!

Storing Leftover Turkey
This roasted turkey recipe makes the BEST leftovers! I have some great suggestions for recipes using leftover turkey at the end of this post.
- In the Refrigerator: Once the roasted turkey has cooled, place it in an airtight container and refrigerate for 3 to 5 days.
- In the Freezer: After your turkey has cooled down, place it in a freezer bag. Lay your turkey flat in the bag, then zip or suction out all the air. Label the bag with the date, and store it for up to 1 month in the freezer. When ready to reheat, place in the refrigerator overnight to thaw.
- To Reheat: To reheat in the oven, place in a baking dish at 350 degrees Fahrenheit for 12 to 15 minutes or until warm. When reheating in a microwave, heat for 1 to 2 minutes until warm. Try not to overheat, as this will leave your leftover turkey dry and hard.
How Do I Serve Carved Turkey?
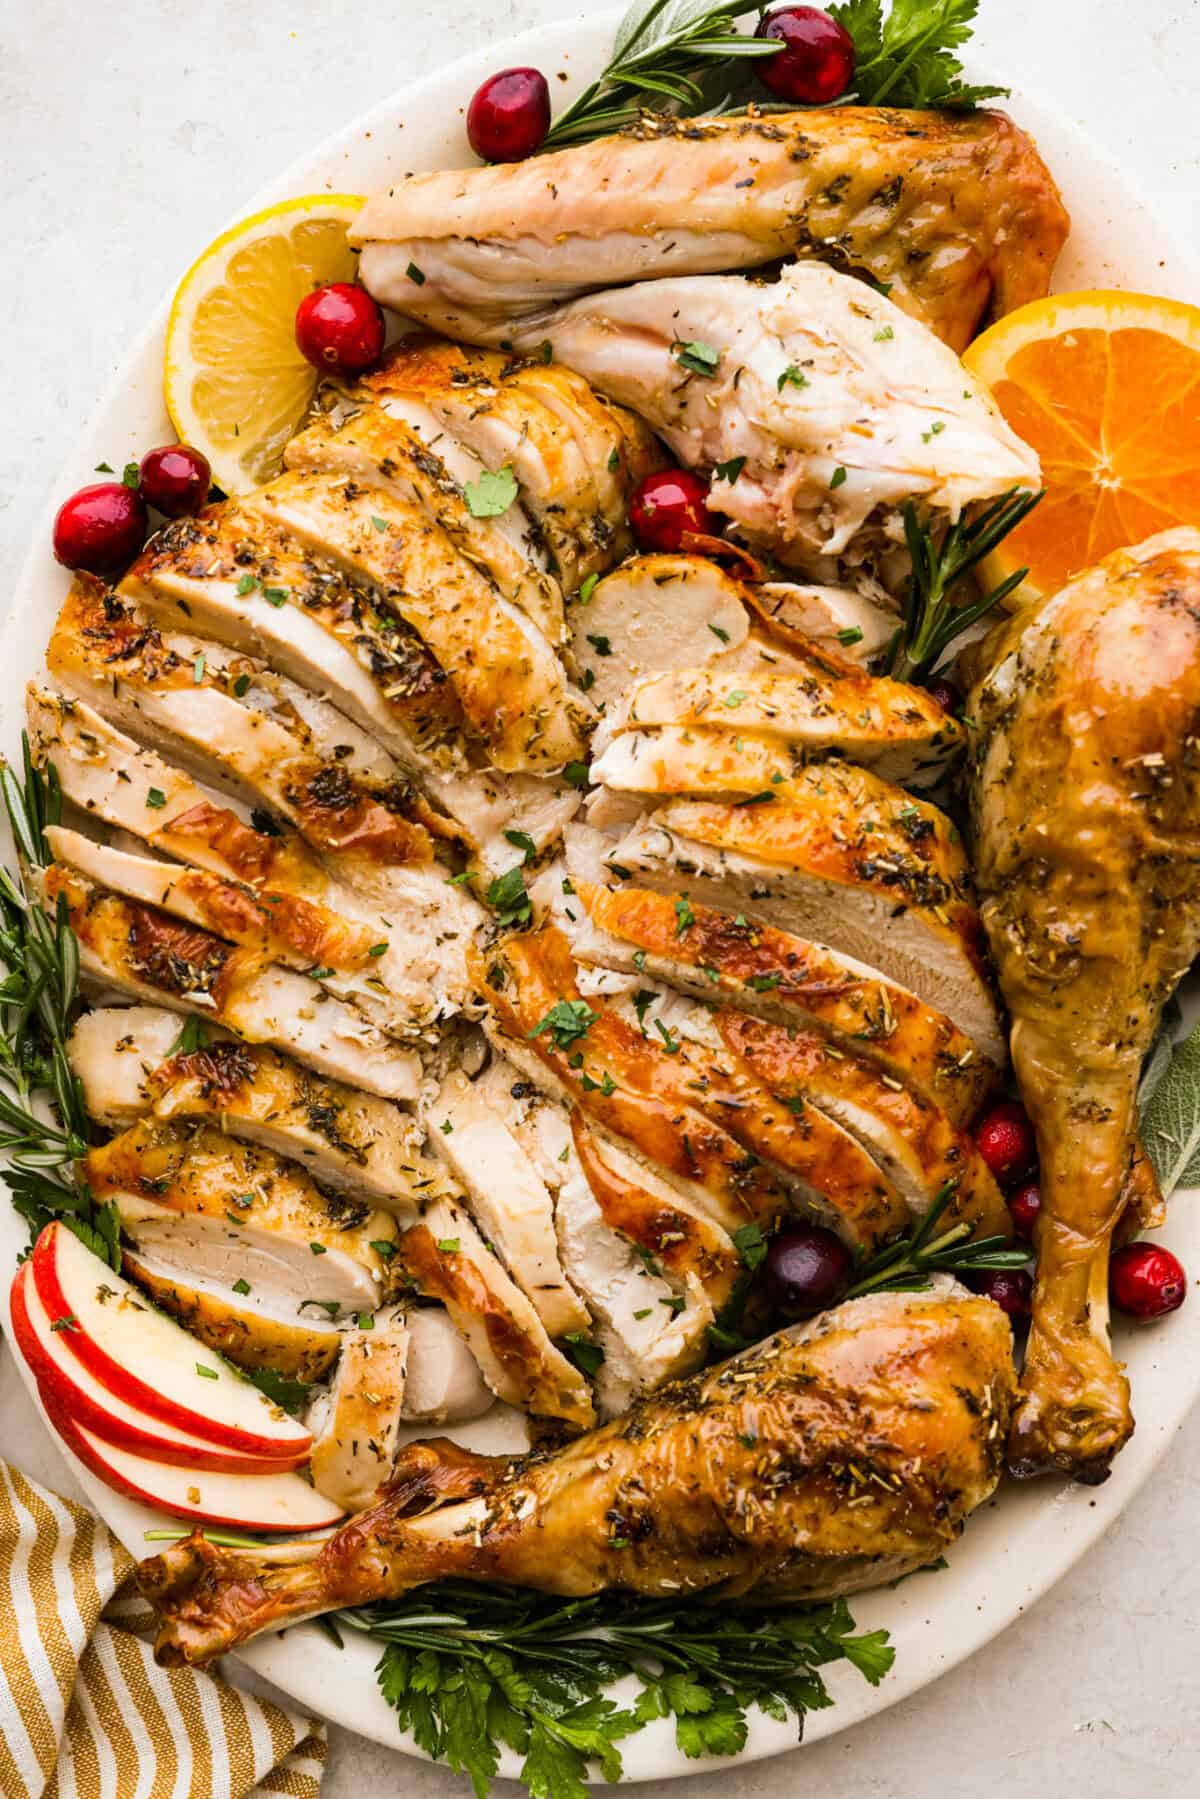
Once you carve your turkey, let’s make it look pretty! Place the sliced breasts in the center of your serving platter. Next, arrange the legs, thighs, and wings around the sliced breasts for a nice presentation! Garnish with fresh herbs, sliced apples and oranges, and fresh cranberries to give it that WOW factor!

Recipes Using Leftover Turkey
There are SO many ways to use up your leftover turkey! It’s like the meal that keeps on giving. Use your leftover turkey in these tasty recipes that your family will enjoy all week long!


